
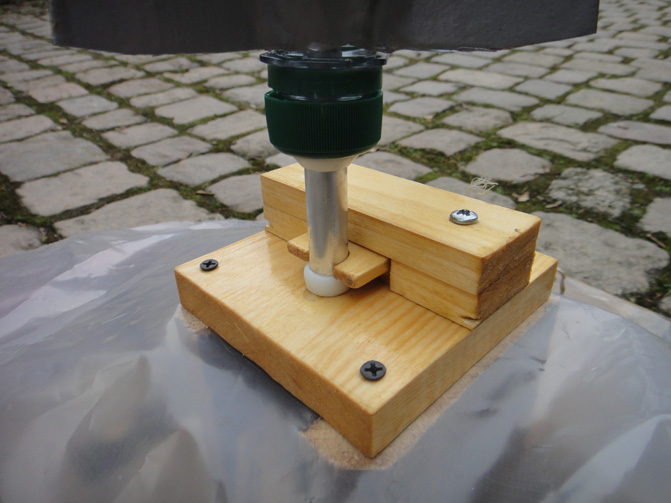
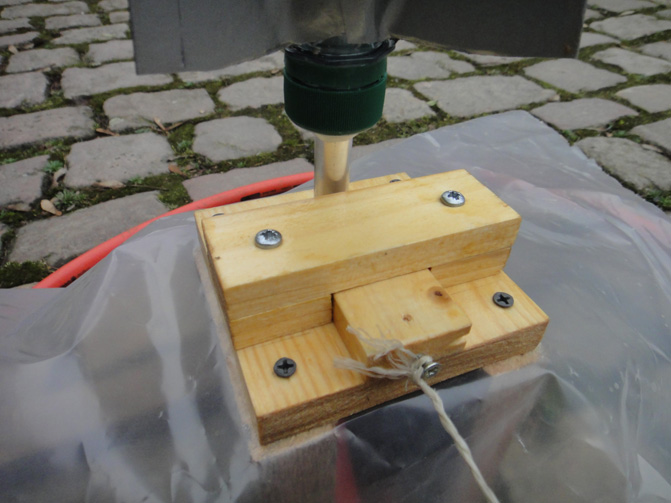
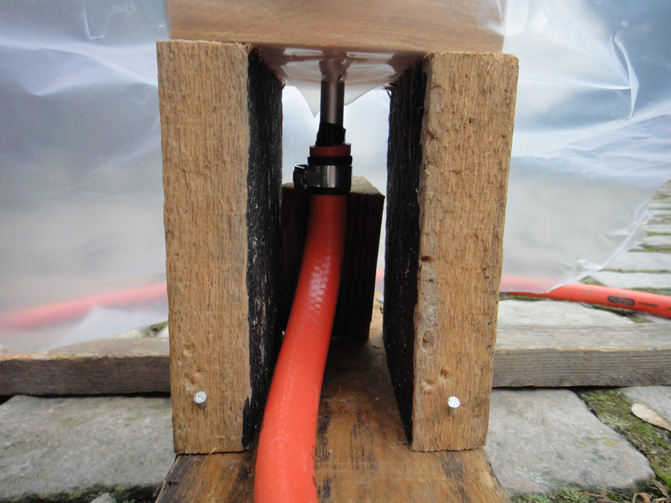
The launch mechanism is a small piece of cut and sanded wood that fits snugly around the nozzle, which has a small ring of thermoplastic at its base to hold the rocket on the pad. What you cannot see here is a small groove in the nozzle underneath the thermoplastic to prevent it from slipping off. Luckily, the plastic contracts when cooling and tightens around the aluminium tube.
To launch the rocket, we pull on a long string that is attached to this piece of wood.
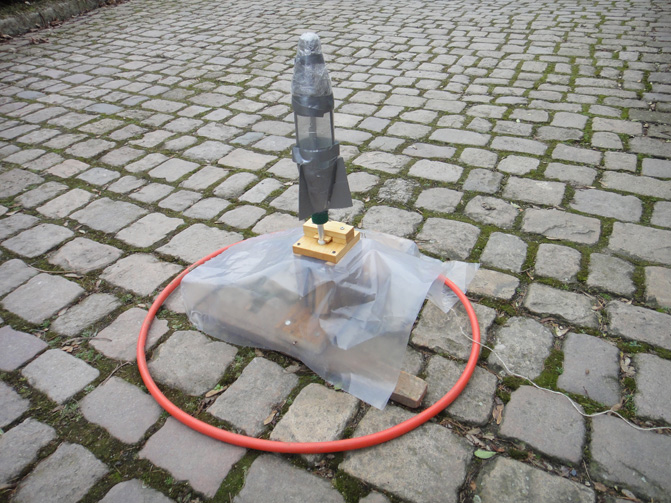
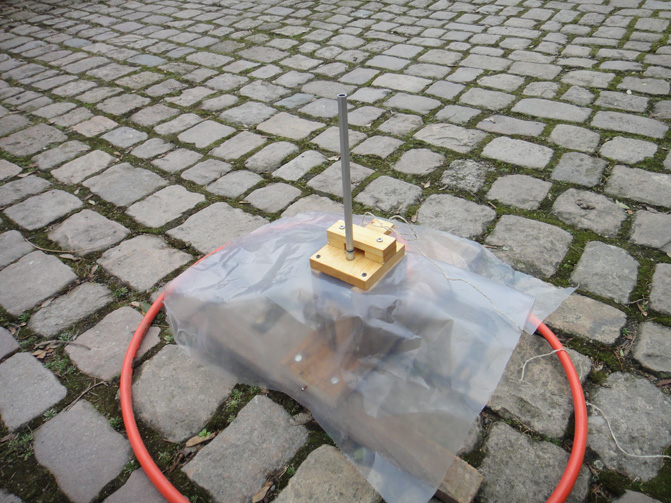
It is important to prevent the rocket from pushing the launch tube into the pad. This can be done by placing a small block of wood under the launch tube.
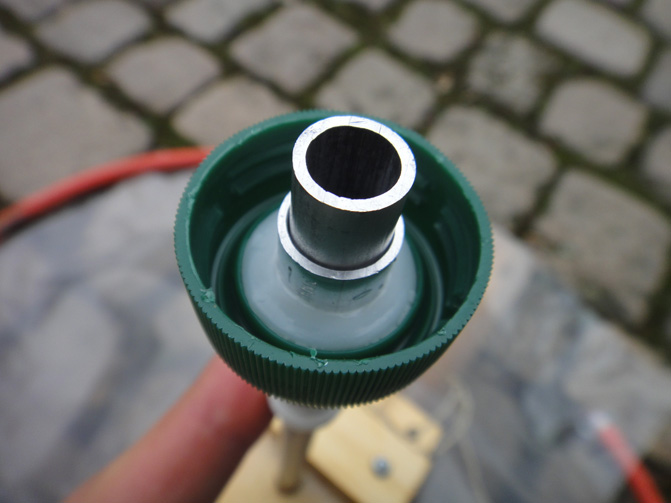
The most difficult part to manufacture was the seal that keeps the water column inside the rocket and launch tube. The tube consists of two (three if you count the nozzle) nested aluminium tubes. The launch tube has an outer diameter of 10mm. We were lucky to find this tube, which almost perfectly fits inside another tube with an outer diameter of 12mm, of which we cut a short piece to use as the nozzle. The tube had a wall thickness of slightly less than 1mm, too little to cut a small groove for a seal. Instead, we had to cut the tube in half and add another one inside with an outer diameter of 6mm, which coincides with the inner diameter of the 6x2mm o-rings we used. These o-rings are held in place by some more thermoplastic, which also helps to fill the gap between the inner and outer tube. The rocket is pressurised through the innder 6mm tube, not the outer 10mm tube. Hence, the garden hose must fit tightly around this inner tube, which can be achieved by filling the gap with insulation tape or – in our case – more thermoplastic.

The nozzle is attached to the bottle cap with some more of the wonderfully multifunctional thermoplastic.
For some added excitement we taped two glow sticks to the sides of our rocket and launched at night!
